
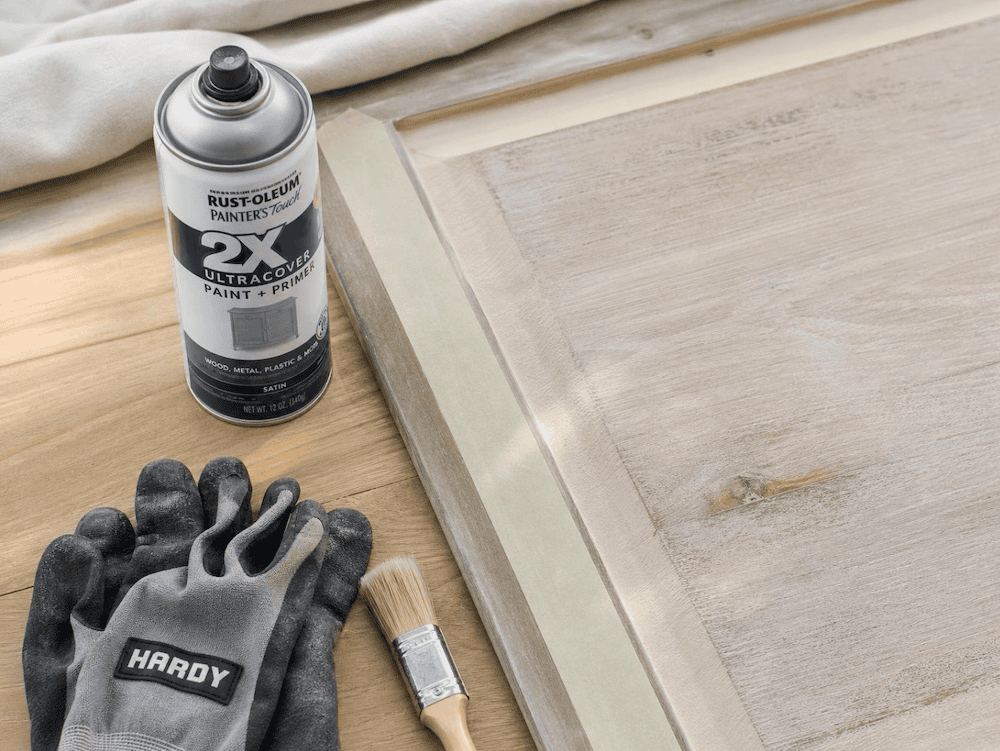
Spray-Painting Household Objects can give a second life to a scratched planter, dated picture frame, or thrifted side table. Sometimes, the piece you’re ready to replace already has everything going for it: a useful shape, solid construction, and the perfect dimensions for your home. The finish simply needs attention. With thoughtful preparation and a well-chosen coating, you can turn that overlooked object into something you’re excited to display again.
The transformation starts before you press the nozzle. A durable finish depends on understanding the material, removing contamination, and allowing enough time between stages. Get those details right, and your upcycle becomes more than a quick color change.
Choose What Deserves a Second Life
Start by checking the object’s condition. A metal basket with chipped paint offers a straightforward project. A badly corroded plant stand or unstable stool needs repairs before any cosmetic work begins. Paint can refresh a surface, but it cannot restore structural strength.
Next, consider what deserves preserving. A wooden tray might benefit from painted handles while its grain stays visible. Likewise, refreshing a mirror’s frame can transform the whole piece without replacing the glass. Upcycle That’s guide to choosing materials for upcycling explores how texture, finish, and existing character can guide those decisions.
Gather your spray paint and accessories before starting. Check whether you already have suitable masking tape, protective coverings, and reusable supports, then buy only what the project requires.
Match the Coating When Spray-Painting Household Objects
Wood, metal, plastic, and previously painted surfaces need different approaches. Check that your chosen product suits both the material and its future use. An indoor decorative finish may struggle on a planter exposed to rain, while flexible plastic may need a specialized coating.
Also consider handling, heat, and food contact. Avoid painting food-contact surfaces unless the product explicitly permits that application. For electrical items, disconnect the power and keep paint away from sockets, wiring, ventilation openings, and working components.
Test the complete coating system in an inconspicuous area first. Allow the label’s specified drying and curing times before judging adhesion. Look for lifting, wrinkling, persistent tackiness, or unwanted changes in sheen.
Set Up a Suitable Workspace
Read the product label and safety data sheet before opening the can. Follow their ventilation and protective-equipment requirements, and keep children, pets, flames, sparks, and other ignition sources away. A dust mask does not protect against solvent vapors.
Choose conditions within the product’s stated temperature and humidity limits. Wind can carry overspray onto nearby belongings and blow debris into wet paint. However, enclosing the project to block dust can also trap fumes, so avoid improvised enclosed spraying spaces.
Protect surrounding surfaces and raise the object on stable supports. Reused cardboard can help catch overspray, provided it stays secure and clear of ignition sources. Position the piece so you can reach its edges without handling wet paint.
Prepare Surfaces Before Spray-Painting Household Objects
Cleaning comes first. Remove grease, wax, dirt, and cleaning-product residue using a method compatible with the surface and coating. Then let everything dry completely. Sanding a dirty object can spread contamination rather than remove it.
Repair dents and loose joints before addressing the finish. Remove unstable coatings and treat rust according to the coating manufacturer’s instructions. If an older painted piece could contain lead, establish that before sanding or scraping.
Next, abrade sound glossy surfaces where the product instructions require it, then remove the dust. Mask areas you want to preserve, pressing tape carefully around seams and curves.
Finally, apply a compatible primer if required. Bare metal may need corrosion protection, while some plastics need an adhesion-promoting product. Primer supports good preparation; it cannot compensate for grease or flaking paint underneath.
Apply Thin Coats When Spray-Painting Household Objects
Shake the can for the stated time and test the spray pattern on scrap material. Follow the label’s recommended spraying distance, keeping your hand moving steadily across the object. Begin each pass before the edge and release the nozzle after passing beyond it.
Build coverage gradually with overlapping passes. Trying to achieve an opaque finish immediately can leave runs, heavy edges, and uneven drying. Multiple light coats generally offer better control, although the product’s application instructions should guide the process.
Pay particular attention to corners, curves, and decorative details. These areas collect paint quickly, so change your viewing angle between coats to check coverage. Resist repeatedly spraying one awkward spot while the surrounding surface remains wet.
Correct Problems and Let the Finish Cure
If something goes wrong, pause before adding another coat. More paint rarely fixes an underlying preparation or compatibility problem.
Runs usually call for drying and leveling before another light application. Fisheyes suggest contamination that needs investigation and cleaning. Peeling points toward poor adhesion or an unstable underlying finish. Follow the product’s repair guidance before sanding or recoating.
Also distinguish between touch-dry, ready to recoat, and fully cured. These stages serve different purposes, and recoat windows vary by product. Missing the specified window can cause wrinkling or other defects.
Keep the finished object away from moisture, friction, and heavy use until it has cured as directed. Then clean reusable tools, store paint according to the label, and check local disposal requirements for leftover coatings and aerosol cans.
The reward is an object that earns its place in your home again. A little patience turns a temporary refresh into a lasting upcycle—and gives you another reason to look twice before replacing something useful.
