
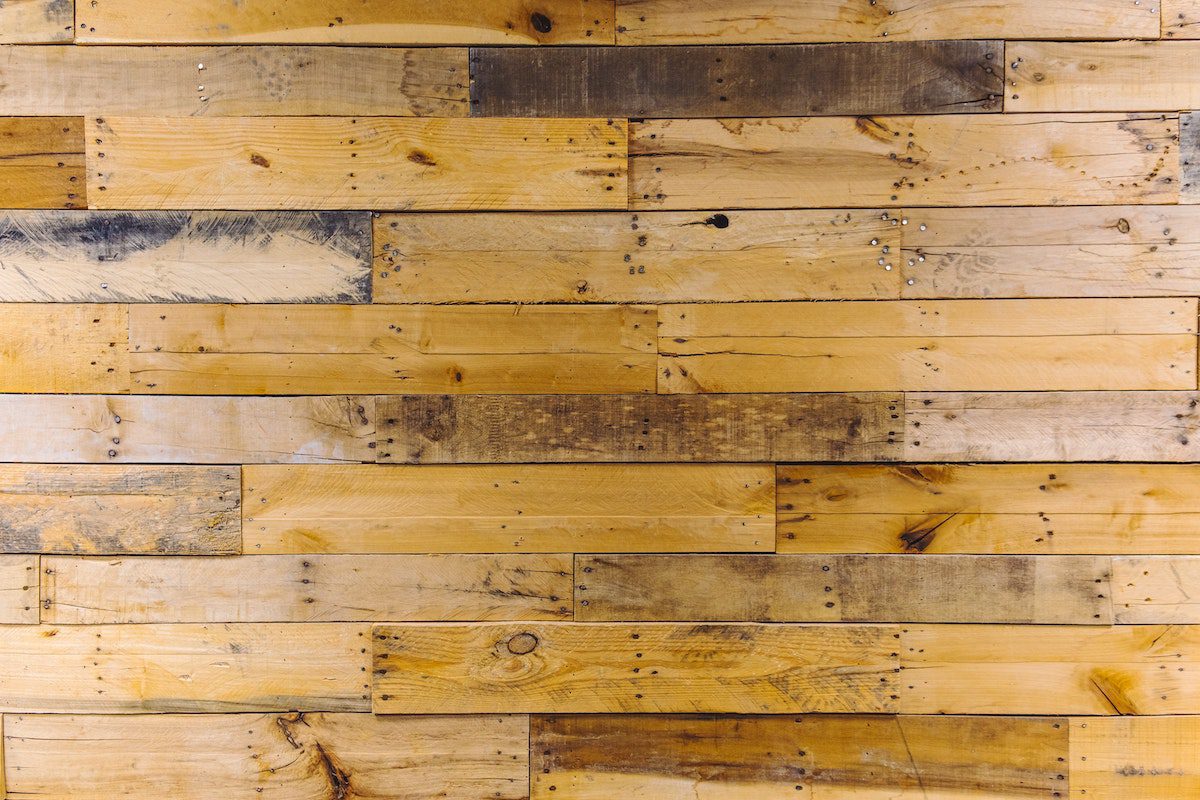
How to clean reclaimed wood properly is the difference between a stunning upcycled piece and a project that fails over time. Reclaimed lumber carries history, texture, and depth you simply cannot replicate with new materials, but it also comes with hidden challenges like embedded grime, pests, and structural wear. If you skip proper preparation, those issues will surface later as warping, infestations, or finishes that never quite sit right. Taking the time to clean and treat reclaimed wood correctly ensures your finished piece is not only beautiful, but safe, durable, and built to last.
Assess the Condition of the Wood First
Before you begin cleaning anything, you need to determine whether the wood is actually worth saving. Reclaimed materials can vary dramatically depending on where they came from, how long they were exposed to the elements, and what they were previously used for. Look closely for deep cracks, signs of rot, or severe warping that could compromise the integrity of your build. Structural issues are not always obvious at first glance, so take your time inspecting each board from end to end.
Pay particular attention to the ends of the boards, where moisture damage tends to develop first. These areas often reveal whether the internal structure is still sound or beginning to break down. In many cases, trimming away a damaged section will expose strong, usable wood beneath with rich grain and character. Starting with solid material sets the tone for everything that follows, and it prevents you from investing time into wood that simply cannot perform.
Check for Pests Before You Clean Reclaimed Wood
Before bringing reclaimed wood indoors, you need to make sure it is not carrying insects. Old timber that has been stored in damp or outdoor environments can easily become a habitat for wood-boring pests, and introducing that into your home can create a much bigger problem than the project itself. This step is not optional if you want to protect both your work and your space.
Understanding the differences between carpenter ants and termites is important, as it will help you properly identify any potential threats. Carpenter ants leave behind smooth galleries and push their sawdust out of the wood, while termites pack their tunnels with mud and debris.
Look for small, round exit holes, hollow-sounding areas when tapped, or fine sawdust known as frass. These are all indicators that insects may be present or were present at some point. Understanding the difference between pests such as carpenter ants and termites can help you gauge how serious the issue is and whether the wood can be treated effectively. If there is any doubt, it is always better to treat the wood thoroughly or avoid using that piece altogether.
Remove Dirt and Debris From Reclaimed Wood
Reclaimed wood often carries years of built-up dirt, dust, and residue from its previous life, and removing this properly is essential before introducing any moisture. Starting with a dry cleaning method allows you to lift surface debris without forcing it deeper into the grain, which can happen if water is added too early in the process. This step sets the foundation for everything that follows.
Use a stiff-bristled brush to scrub away loose dirt, working along the grain to avoid unnecessary damage. Follow this with a shop vacuum to remove finer particles from cracks, nail holes, and crevices that brushing alone cannot reach. Taking the time to do this thoroughly makes the deep cleaning stage significantly more effective and prevents mud-like buildup later on.
Deep Clean With the Right Solution
Once the surface debris has been removed, you can move on to a deeper clean that addresses embedded grime and residue. A simple solution of mild dish soap and warm water is often enough to break down buildup without harming the wood. The key here is control, as reclaimed wood is highly absorbent and can react poorly to excess moisture.
Use a damp sponge rather than a soaking one, and work along the grain to lift dirt without saturating the material. For areas with mildew or lingering odors, a vinegar and water solution can help neutralize and clean at the same time. Always follow up by wiping the wood with a clean, dry cloth to remove excess moisture immediately, reducing the risk of swelling or warping.
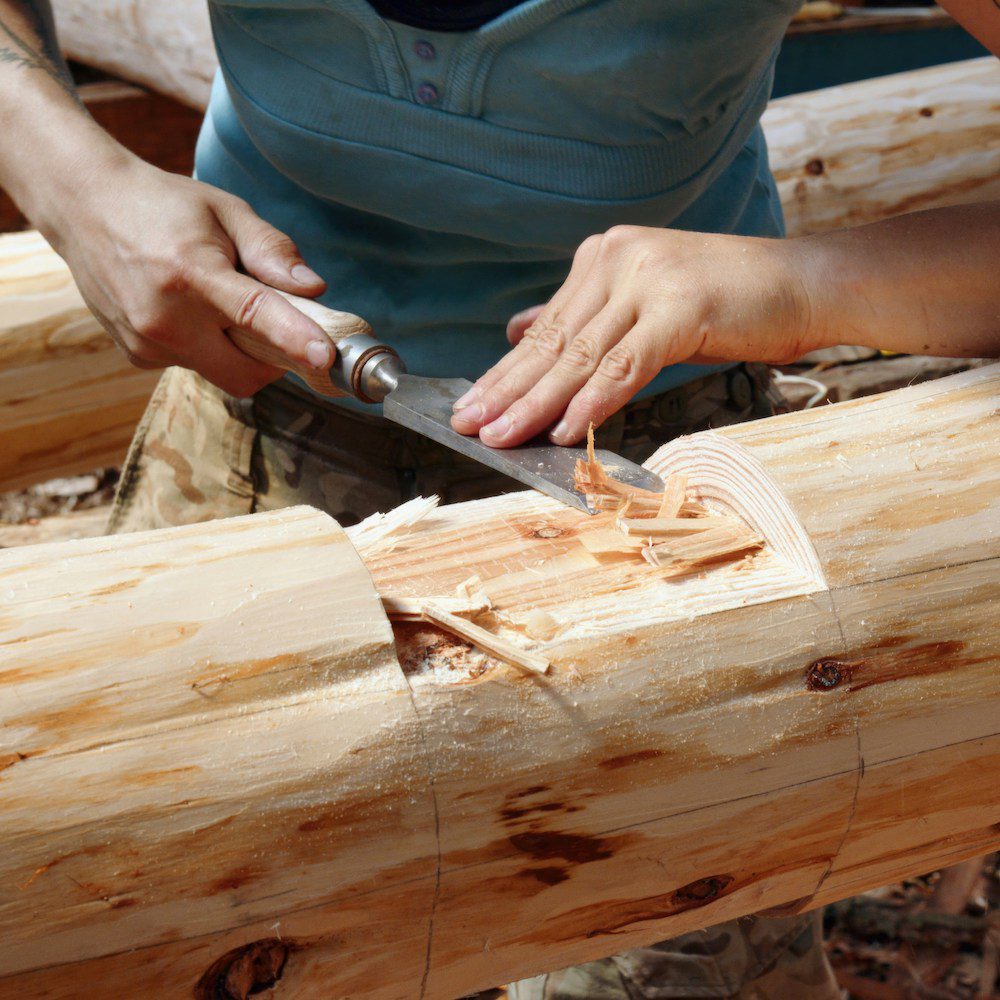
Sand the Surface After You Clean Reclaimed Wood
Sanding is where reclaimed wood begins to truly transform from rough, weathered material into something refined and workable. This step removes any remaining surface contaminants while revealing the natural tones and grain hidden beneath the aged exterior. It also smooths out splinters and creates a surface that is ready to accept finishes evenly.
Start with a coarse grit, such as 80, to strip away the outer layer, then gradually move through finer grits like 120 and 220 to achieve a smooth finish. Rushing this process often results in uneven absorption of stains or finishes, so taking your time here pays off in the final result. Proper sanding not only improves appearance but also enhances the durability of whatever you build next.
Treat Reclaimed Wood to Prevent Future Pests
Even if you don’t see any visible bugs crawling around, treating your reclaimed lumber is a mandatory step for long-term safety. treatment is still essential for long-term protection. Eggs and larvae can remain hidden deep within the wood, only to emerge later when conditions are right. Skipping this step can undo all your work and lead to issues that extend beyond the project itself.
Applying a borate-based wood treatment is one of the most effective ways to protect against future infestations. These treatments penetrate deeply into the wood fibers and create an environment that insects cannot survive in, while remaining safe for indoor use. Coating all sides of the wood ensures full coverage and gives you peace of mind that the material is stable and secure.
Repair and Reinforce Weak Areas
Once the wood is clean and treated, it is time to address any remaining imperfections that could affect both appearance and performance. Reclaimed wood often includes cracks, holes, or uneven sections that need to be stabilized before use. Ignoring these can lead to structural issues or a less polished final result.
Use wood filler or epoxy to repair surface damage and create a smoother, more continuous finish. For projects that require strength, such as tables or benches, reinforcing weaker areas with dowels or brackets can make a significant difference. Taking the time to refine the material at this stage ensures your finished piece holds up over time.
Let the Wood Dry Completely
After cleaning and treatment, allowing the wood to dry fully is one of the most important steps in the process. Any moisture left inside the wood can lead to mold growth, warping, or failure of the finish once applied. This is where patience becomes just as important as technique.
Place the boards in a well-ventilated area with airflow on all sides, ideally elevated off the ground to prevent moisture transfer. Using a fan can help speed up the drying process, but it is still important to give the wood enough time to stabilize. If you want to be precise, a moisture meter can confirm when the wood is ready to move forward.
Apply a Protective Finish
Sealing the wood protects it from everyday wear while enhancing the natural beauty that makes reclaimed materials so appealing. The finish you choose will influence both the look and longevity of your project, so it is worth considering how the piece will be used.
Oils such as tung or linseed provide a warm, natural finish that highlights the grain, while water-based polyurethane offers stronger protection for high-use surfaces. Applying the finish evenly and allowing proper drying time between coats ensures the best result. This step locks in all the work you have done and gives the piece its final character.
Store Reclaimed Wood Properly After Cleaning
If you are not using all of your reclaimed wood immediately, proper storage is essential to maintain its condition. Even well-prepared wood can degrade if exposed to moisture, poor airflow, or temperature fluctuations over time.
Keep the wood in a dry, climate-controlled space and avoid placing it directly on concrete, which can transfer moisture into the boards. Elevating the wood on racks or pallets allows air to circulate and helps preserve its quality. Checking on stored materials periodically ensures they remain ready for your next project.
Clean Reclaimed Wood the Right Way for Better Results
Learning how to clean reclaimed wood is a foundational step in any successful upcycling project, and it directly impacts the quality of everything you create from it. When you take the time to properly assess, clean, treat, and protect your materials, you turn something overlooked into something lasting.
Handled correctly, reclaimed wood becomes more than just a material. It becomes a story you can build with, one that carries both character and craftsmanship into your space.