
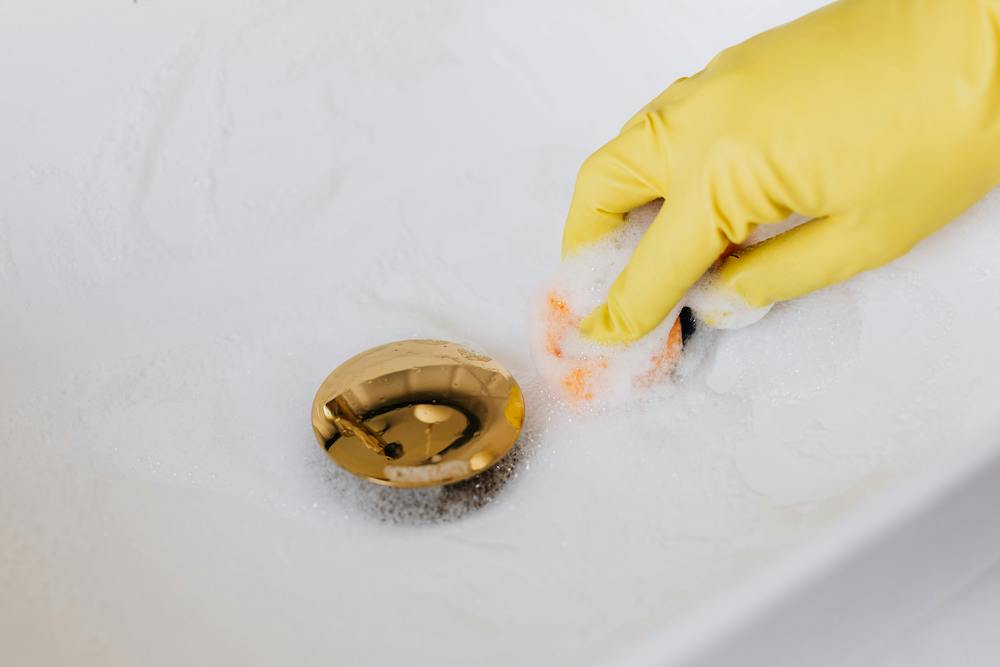
What can go down a workshop sink is a question worth asking before you rinse the evidence of your latest upcycling project down the drain. That sink might make cleanup feel effortless, but sawdust, paint, filler, and other project leftovers can cause problems for your plumbing or the wastewater system.
Whether you’re refinishing a dresser or transforming an old cabinet, a little cleanup planning helps you protect your pipes while keeping usable materials in circulation.
What Can Go Down a Workshop Sink After an Upcycling Project?
A workshop sink is handy for washing your hands, cleaning off ordinary dirt, and rinsing tools when the product and local wastewater authority permit it. The key is knowing what’s on those tools before you turn on the tap.
Unlike the kitchen sink, a workshop sink might encounter everything from sanding dust to paint stripper. Some materials can settle or harden in pipes; others contain chemicals that shouldn’t enter a sewer or septic system.
Being water-based doesn’t automatically make a product safe to pour away. Check the label and your local wastewater guidance, and keep any leftover product out of the sink unless you know disposal is permitted.
What Can Go Down a Workshop Sink: Paint and Brush Cleanup
You’ve put the final coat on a rescued side table. Now what happens to the paintbrush?
First, scrape excess paint back into the can for your next project. Leftover liquid paint shouldn’t be poured down the drain. Keep usable paint sealed and labeled, or check whether a local paint-recycling program accepts it.
For water-based or latex paint, some wastewater authorities allow brushes to be rinsed in a sink connected to a sanitary sewer after excess paint has been removed. Rules vary, so check locally before rinsing. If your home uses a septic system, the EPA advises minimizing even latex paint waste. US EPA
Oil-based paint, varnish, paint thinner, and chemical strippers need a different approach. Keep them and their solvent-based cleanup liquids out of household drains. Follow the product instructions and contact your local household hazardous waste program for disposal options.
A good habit is to plan cleanup before opening the can. Set out the right containers, read the label, and know where leftovers will go when the project is finished.
Dust and Building Materials
That pile of sanding dust may look harmless, but the sink isn’t the place for it. Collect ordinary sawdust and wood dust before washing tools. A dustpan or suitable vacuum makes cleanup easier and keeps loose particles out of the drain.
Be especially careful with older painted furniture. If a finish might contain lead, avoid sanding or spreading dust until you know how to handle it safely. The U.S. Environmental Protection Agency offers guidance on lead-safe practices.
Other materials to keep out of the sink include:
- Wood filler and adhesives: Scrape or wipe excess from tools and follow the product’s disposal instructions.
- Plaster, grout, and cement residue: Collect these separately. Sediment can accumulate, and some materials may harden inside pipes.
- Unknown products: Keep them in their original labeled containers where possible, and ask your local waste authority how to dispose of them.
Don’t move the problem outdoors by pouring dirty project water into a driveway or storm drain. Keep it contained and check local disposal instructions instead.
Set Up a Smarter Cleanup Station
A thoughtful workshop doesn’t need to be brand new. A salvaged utility sink, an old kitchen cabinet, or reclaimed shelves can make a functional cleanup area with plenty of character.
Start by giving project waste a place to go. Keep a container for dry debris near your workbench, a scraper handy for removing excess filler or paint, and suitable labeled containers for materials that need special disposal. Follow local collection guidance and avoid mixing different chemicals together.
A removable sink strainer is useful for catching larger scraps, screws, and wood chips that accidentally land in the basin. Just remember that fine particles and dissolved chemicals can pass through it.
If you’re installing a reclaimed sink or building a cabinet around an existing one, leave the drain trap, connections, and shutoff valves accessible. A removable panel can keep things looking tidy while allowing room for repairs. Check local permit and plumbing requirements before making or enclosing connections.
For a professional assessment, a provider offering plumbing services in Santa Cruz can help homeowners in the area evaluate their workshop sink and drainage setup.
When Your Workshop Sink Starts Draining Slowly
A slow drain doesn’t necessarily mean your last project caused a blockage, but it’s worth paying attention to changes. Repeated backups, leaks around the trap, or nearby fixtures draining poorly can all signal that it’s time for an assessment.
Resist the urge to pour chemical drain cleaner into a sink that may contain unknown workshop products. Mixing chemicals can be dangerous, and drain cleaners may not resolve hardened filler, construction residue, or a foreign object.
If you call a plumber, explain what may have gone down the drain so they can assess the situation with that information in mind.
A good cleanup routine is part of giving old things a new life. Once your project is complete, keep it looking its best with our guide to cleaning upcycled furniture.
From the first coat of paint to the final rinse, small choices can help your workshop stay creative, functional, and ready for the next rescue.
