

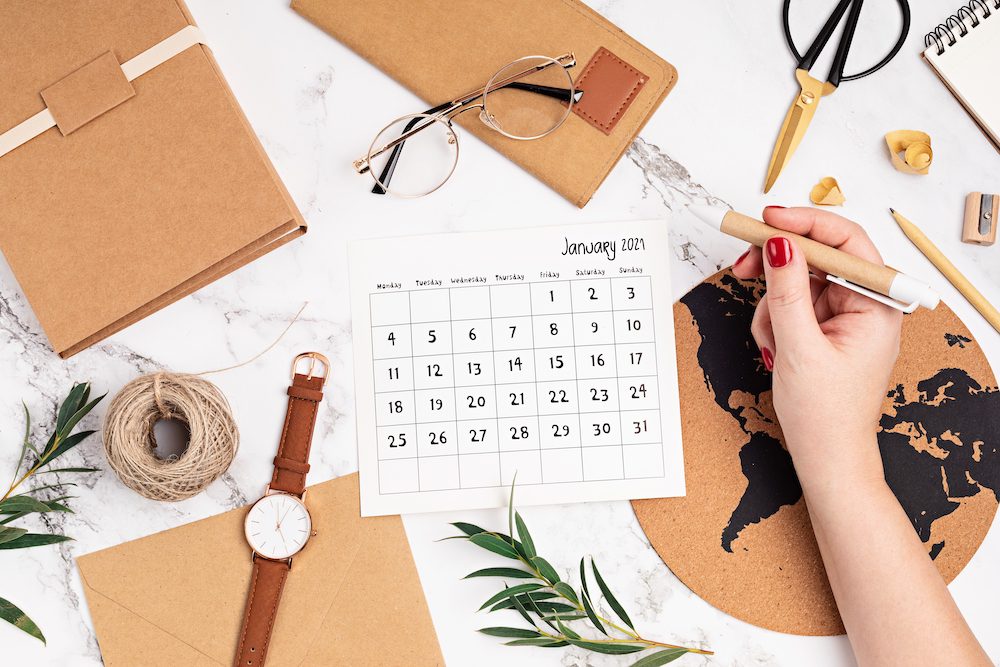
An upcycled photo calendar is one of the simplest ways to bring forgotten memories back into daily life. There’s a special kind of joy in opening an old box and finding photos you’d completely forgotten about—a sun-worn beach picture, a faded family snapshot, or a tiny vintage print that once lived on your grandma’s fridge. Instead of letting those memories sit hidden away, an upcycled calendar gives them a new purpose you’ll see and appreciate all year long.
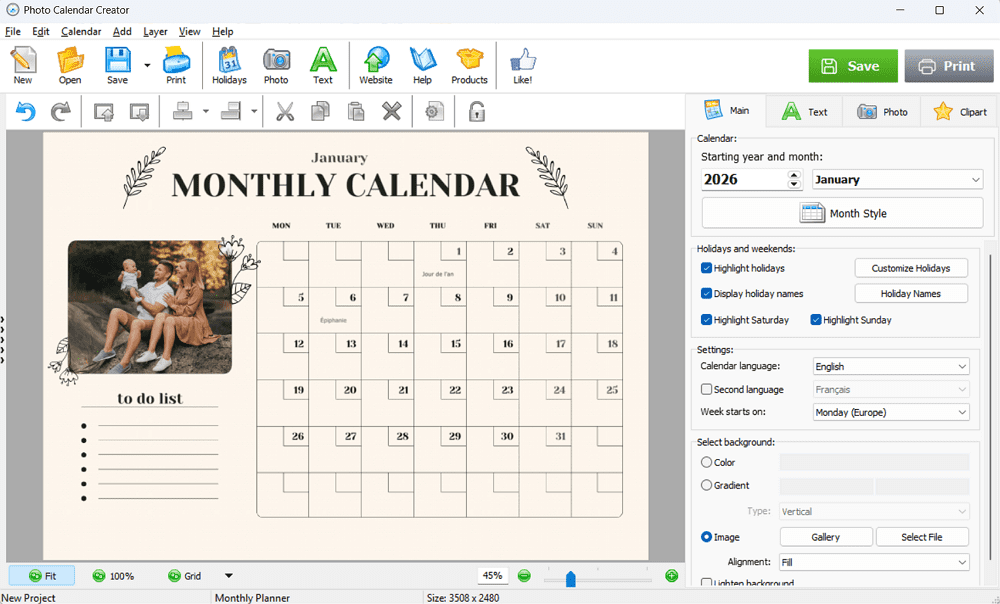
These calendars are practical, personal, and surprisingly easy to make. You don’t need to be a designer or master crafter to start. Before you start cutting, gluing, or layering anything, you can create a digital layout with a calendar creator software for Windows 10 like Photo Calendar Creator.This lets you plan each month, preview designs, and add meaningful dates before moving into the hands-on phase.
Once your layout feels right, the real fun begins.
Why Make an Upcycled Photo Calendar Instead of Buying New?
An upcycled photo calendar isn’t just a craft project—it’s a mindset shift. Calendars are something we look at every day, so filling them with personal images adds warmth and intention to an otherwise functional object.
Creating your own calendar:
- Reduces waste
- Adds personality to your space
- Makes thoughtful, heartfelt gifts
- Gives old photos a second life
Instead of buying a generic calendar with stock imagery, you get twelve months of meaning—designed entirely around your own story.
Choosing Photos for Your Upcycled Photo Calendar
Before you start assembling anything, spread your photos out on a table. Let yourself notice which ones spark emotion, which feel seasonal, and which naturally belong together.
Match the mood to the month
Warm months work beautifully with beach trips, bright colours, and outdoor memories. Winter months suit cozy interiors, candlelight, snowy scenes, and family gatherings.
Mix old and new
A vintage photo paired with a clean, modern layout often looks unexpectedly beautiful. Contrast adds character.
Choose clarity over perfection
Soft focus, faded colours, or worn edges are part of the charm—but make sure the subject is still recognizable. Light restoration can help if needed.
Pick a loose theme
Ideas include family through the years, travel memories, childhood nostalgia, or seasonal moods. A gentle thread ties the calendar together without feeling rigid.
Preparing Your Layout Digitally
Planning your layout digitally saves time and materials once you move into crafting. Photo Calendar Creator allows you to:
- Choose ready-made templates
- Adjust fonts and colours
- Add captions or meaningful dates
- Experiment with photo placement
- Export high-resolution printable pages
This step helps avoid wasted paper and makes the physical assembly smoother and more enjoyable.
Using Materials You Already Have at Home
One of the best parts of an upcycled photo calendar is that you likely already have everything you need.
Cardboard
Cereal boxes, delivery packaging, and shoe boxes make sturdy bases. Use them to mount pages, create flip calendars, or frame each month. Cover with old maps, kraft paper, or fabric scraps for texture.
Wood scraps
Reclaimed wood, driftwood, or old shelving pieces work beautifully for clip-style or hanging calendars. They pair especially well with earthy or vintage photos.
Vintage frames
That unused frame you’ve been moving around for years? Replace the glass with recycled backing and rotate calendar pages monthly.
Fabric scraps
Linen, denim, or canvas can be used for scroll-style wall calendars, stitched borders, or soft backgrounds.
Small everyday items
Try fridge magnets, coaster-style month tiles, bookmarks, binder clips, or twine for compact designs suited to desks and small spaces.
Assembling Your Calendar Step by Step
1: Prepare your base
Cut cardboard, wood, or fabric to size. Smooth edges if needed.
2: Attach calendar pages
Glue sticks tend to prevent bubbling better than liquid glue.
3: Add photos
Place them above, beside, or integrated into the calendar grid.
4: Personalize
Use washi tape, handwritten notes, stamps, pressed leaves, stickers, or doodles.
5: Bind or hang
Binder rings, ribbon, twine, clips, or a small clipboard all work well. Fabric calendars can hang like scrolls using a wooden dowel.
Eco-Friendly Tips for Your Upcycled Photo Calendar
If sustainability is part of the goal, keep these tips in mind:
- Print on recycled or leftover paper
- Skip lamination and use a matte spray instead
- Reuse old clips, rings, or fasteners
- Avoid single-use plastic embellishments
Clean lines, natural textures, and simple materials often look best anyway.
Creative Variations
Want to experiment further?
- Perpetual calendar: Interchangeable blocks for dates and months
- Memory flip calendar: Add a short story or quote each month
- Travel calendar: Use postcards and ticket stubs
- Kids’ art calendar: Pair children’s drawings with family photos
Each variation adds its own layer of meaning.
A Year of Memories, Reimagined
An upcycled photo calendar isn’t about perfection—it’s about presence. It’s a way to bring memories out of drawers and boxes and into your everyday life. With digital tools handling the technical side, your energy stays focused on creativity: textures, stories, and moments that matter.
And maybe, one quiet day, you’ll walk past your calendar and notice an old photo smiling back at you—proof that even small memories deserve a place in the present.