
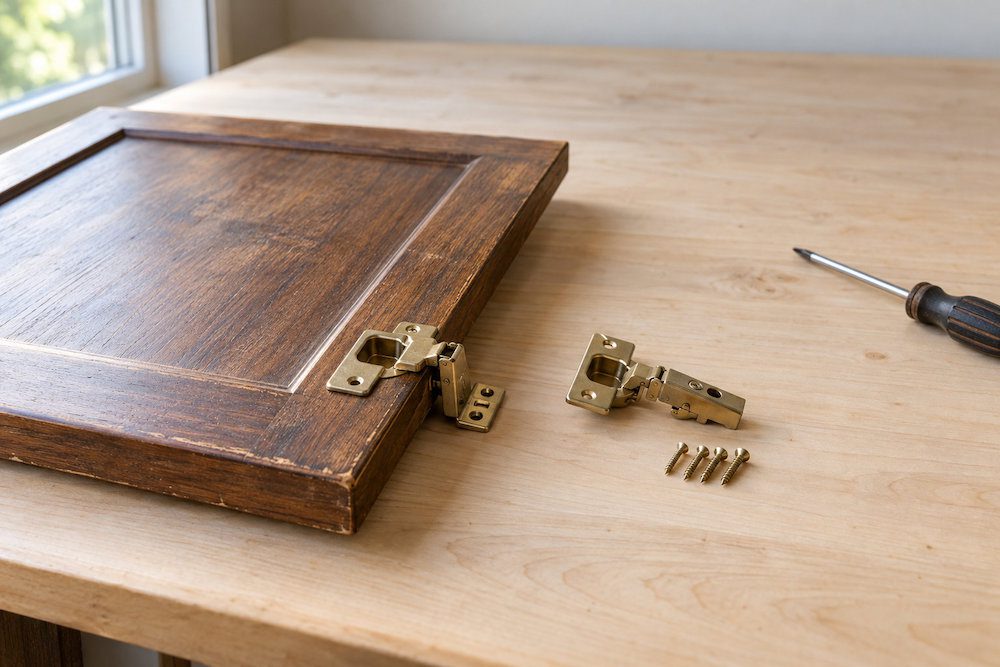
Upcycling old cabinets can begin with the smallest daily irritation: a door that droops, a drawer that sticks or a handle that catches your sleeve. Those problems can make useful furniture feel ready for replacement. Yet a worn hinge does not mean the whole cabinet has reached the end of its life. Before shopping for something new, look at what a few well-chosen repairs could change.
The most satisfying update often keeps more than it replaces. A handsome timber door, an unusual proportion or a finish softened by years of use can give a cabinet its character. New hardware should help those features work harder, not erase them. Start with the way you want to use the piece, then spend where the improvement will make a difference.
Start Upcycling Old Cabinets With a Careful Inspection
Empty the cabinet before deciding what needs fixing. Check the base, back, shelves and joints, paying particular attention to water damage and loose connections. Older does not automatically mean solid wood or better construction. Look closely at edges and damaged areas to distinguish timber, veneer and manufactured board. Widespread swelling, crumbling material or a cabinet that will not stand securely deserves assessment before cosmetic work.
Next, open every door and drawer and record the specific problem. A rubbing door might need adjustment, while a loose hinge may be attached to damaged material. Replacing hardware without addressing its mounting point can leave the original fault unresolved. Photograph each fitting and label doors before removing anything. Keep screws and small parts in separate, marked containers so useful originals do not disappear during the project.
Choose Hardware That Fits the Cabinet You Have
Measure before ordering replacement cabinet hinges. Note the door thickness, existing hole positions and whether the door sits inside the frame or overlaps it. These arrangements need different hardware choices. Photograph the hinge both open and closed, including any identifying marks. A supplier can use those details to help narrow down suitable replacements.
Soft-close and concealed hinges are not universal upgrades that fit every old door. Some require a recessed cup, particular mounting plates or more clearance than the cabinet provides. Check the specific manufacturer’s installation drawings before drilling. Test one suitable hinge arrangement before buying fittings for the entire cabinet. Preserving a working traditional hinge can be the better option when conversion would involve unnecessary cutting.
Handles deserve the same practical attention. Measure the distance between existing fixing-hole centers rather than the overall handle length. Matching that spacing avoids extra drilling and patching. Try the grip before committing, particularly if the cabinet gets frequent use. A simple pull that feels comfortable can improve the piece more than an elaborate fitting chosen from a photograph.
Make Upcycling Old Cabinets Work for a New Purpose
Give the cabinet a clear job before adding storage accessories. A former kitchen unit might become craft storage, while a dining-room cupboard could organize hallway essentials. Measure the items it needs to hold, not just the available floor space. Tall bottles, sewing equipment and folded linens all suggest different shelf arrangements. Planning around real belongings helps prevent a beautiful makeover that still feels awkward to use.
Start with removable additions where possible. Dividers cut from suitable leftover timber can organize trays or wrapping supplies without permanently changing the cabinet. Reused baskets can group small items while keeping original shelves intact. Check that doors and drawers still open fully around anything you add. For tall furniture or wall-mounted units, obtain suitable anchoring advice rather than assuming a change of use leaves stability unaffected.
Repair the Drawer, Not Necessarily the Whole Cabinet
A sticking drawer needs diagnosis before new runners. Check for loose joints, a sagging bottom, rubbing surfaces and damaged supports. Side-mounted and concealed runner systems have different clearance and construction requirements. Follow the chosen system’s specifications rather than assuming a modern mechanism will fit the existing drawer. Replacing a sound drawer simply to accommodate unsuitable runners can turn a modest repair into a larger project.
When the drawer itself is beyond repair, a replacement can preserve the surrounding cabinet. Options such as bespoke dovetail drawers allow dimensions to suit an existing opening. Agree the measurements with the maker and confirm compatibility with the proposed runners. Ask whether the original drawer front can remain, particularly when it matches other doors. Include the replacement, fittings and installation in your comparison before deciding it offers worthwhile value.
Our recent guide to setting a renovation budget takes the same repair-before-replace approach. Price the complete cabinet project, including tools, finishes and any professional help. A free cupboard can become expensive if every component needs rebuilding. Spend on improvements that solve a problem, rather than buying an entire set of accessories at the outset.
Finish Upcycling Old Cabinets Without Losing Their Character
Decide whether the cabinet actually needs refinishing. Cleaning with a product suitable for its existing surface may be enough to reveal the wood and soften years of grime. Before sanding, scraping or drilling through old paint, assess whether hazardous coatings could be present. Lead-containing paint requires appropriate testing and lead-safe handling; ordinary sanding can spread contaminated dust. Get qualified advice when the coating’s history is uncertain.
If refinishing is appropriate, test the chosen products in an inconspicuous area and follow their preparation and curing instructions. Protect thin veneer from aggressive sanding and keep finish out of moving mechanisms. Refit hardware carefully, using fixings suited to the material and the manufacturer’s guidance. Do not overtighten screws to compensate for a damaged fixing point. Repair the underlying problem instead.
Finally, use the cabinet and notice what has changed. Check that doors clear neighboring surfaces, drawers move properly and shelves suit their intended contents. Save the hardware specifications for future repairs and keep useful leftover fittings. A successful upcycle does not need to disguise the cabinet’s age. It should make an existing piece easier to live with, ready for its next chapter.
